IKING GROUP-INSULATION AND ACOUSTIC SOLUTION FOCUS
You can use rock wool insulation to insulate your room and prevent sound from escaping and entering a room. This type of insulation can make your home much more comfortable. Installing rock wool insulation is actually very simple and shouldn't take longer than a weekend, depending on the size of the room you are insulating. Rock wool is available in sheets or on a roll, though it will need to be cut to shape.
Step 1 - Measure
First, measure the length and width of every space that you want to fill with the sound insulation. For more complex shapes, you might need to make several measurements to ensure that you can cut accurately sized pieces of insulation.
Step 2 - Mark the Rock Wool
Now you know the size of the insulation you need, mark the sizes onto a piece of insulation material using a pencil. Try to do this as accurately as possible so that the insulation will be a snug fit and won't require any other forms of fixing. This also means that you don't need to worry about any sound escaping.
Step 3 - Cut the Material
When cutting rock wool, it's very importan that you wear a dust mask. Rock wool can create very fine particles when it's cut. A dust mask can minimize the amount of dust in the air.
Rock wool is very easy to cut as it's simply a matter of using your utility knife to cut through the lines. Take your time when doing this to ensure that the cuts are accurate and are in the correct position.
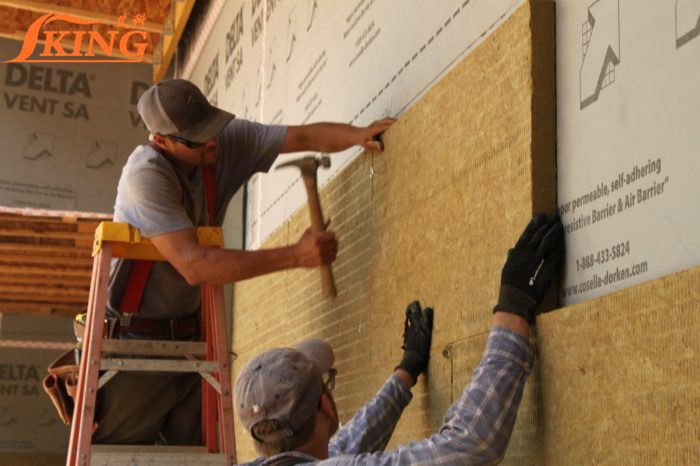
Step 4 - Fix Rock Wool Insulation
Once the rock wool is marked and cut to size, push it in the wall or ceiling cavities to improve sound insulation. If the material isn't a very good fit or it isn't staying in place, you can nail it in position. Try to make sure that the rock wool insulation fits snugly into the spaces to ensure that the insulation won't move and to make sure that it's doing the best job it can do.
Step 5 - Finish Up
Now it's time to put the finishing touches to the wall or ceiling, if you're working on a wall then it's time to install the drywall over the top of the rock wool insulation so that it's hidden from view. Then the wall can be finished and decorated as you would normally without any problems.
Rock wool is a very useful product as it has both thermal and sound insulating properties. When installing rock wool insulation you can make your home much warmer and also improve the sound insulation. If sound is very important then you might need to investigate sound absorption technologies like the ones used in recording studios.
CHINA IKING INDUSTRIAL GROUP CO., LTD
E-mail: zoebai@ikinggroup.com
Tel: +86-22-60767280
Cel Phone: +8618020008725(Wechat, WhatsApp)
Office Add: 14 floor, Zhiyun Building No.2, Linke Middle Road, Hedong District, Tianjin City, China
Office Add2: Room 2003, No. 2 Haibin 6th Road, Tianjin Pilot Free Trade Zone (Tianjin Port Bonded Zone), China
![]()
![]()
![]()
![]()
![]()
![]()

